Working with Tenants
If your license supports the Tenants feature, you will be able to see the Tenants menu from the navigation menu. From the Tenants menu you can create one or more tenants - which makes it possible to isolate groups of users and potentially allow Policy customizations on a per tenant basis, as described earlier.
Add Tenant
A Tenant is represented by a name. The Tenant name is used when client applications request evaluation for a specified Policy and Tenant.

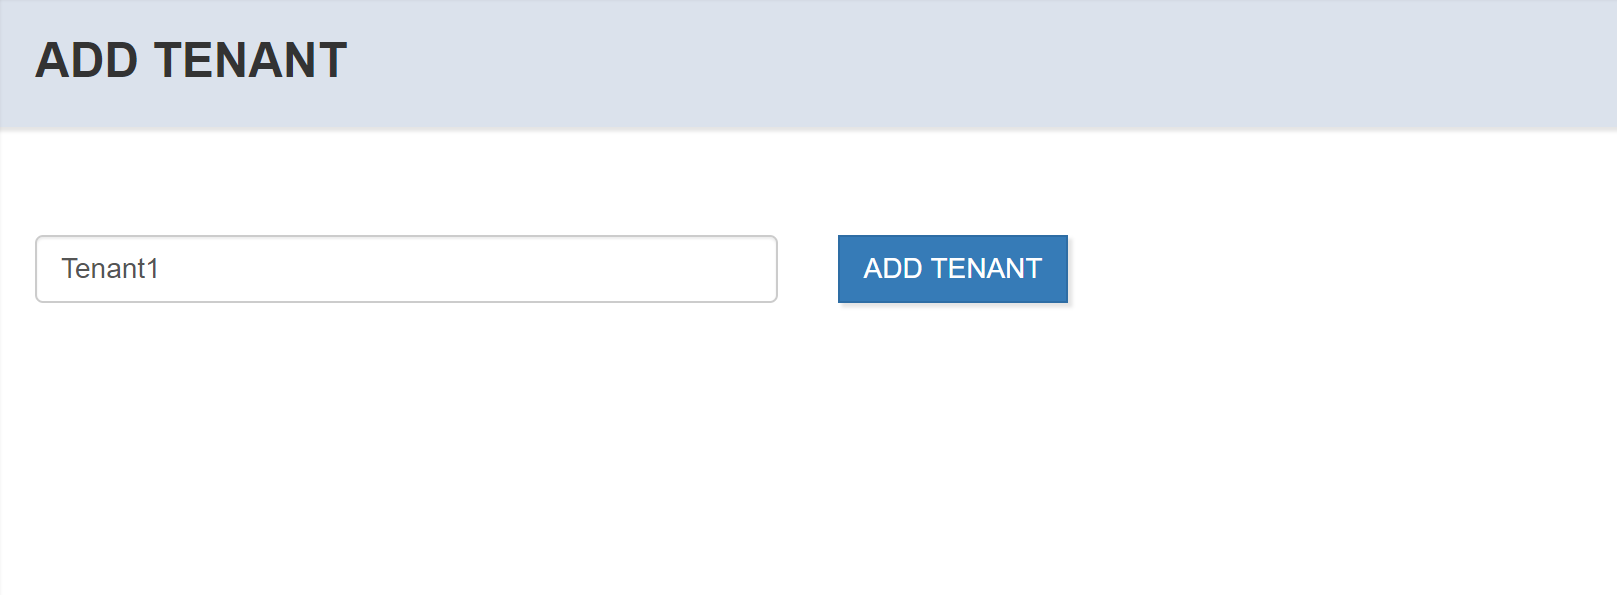
Select Add Tenant from the Tenants listing, and enter the name of the Tenant.

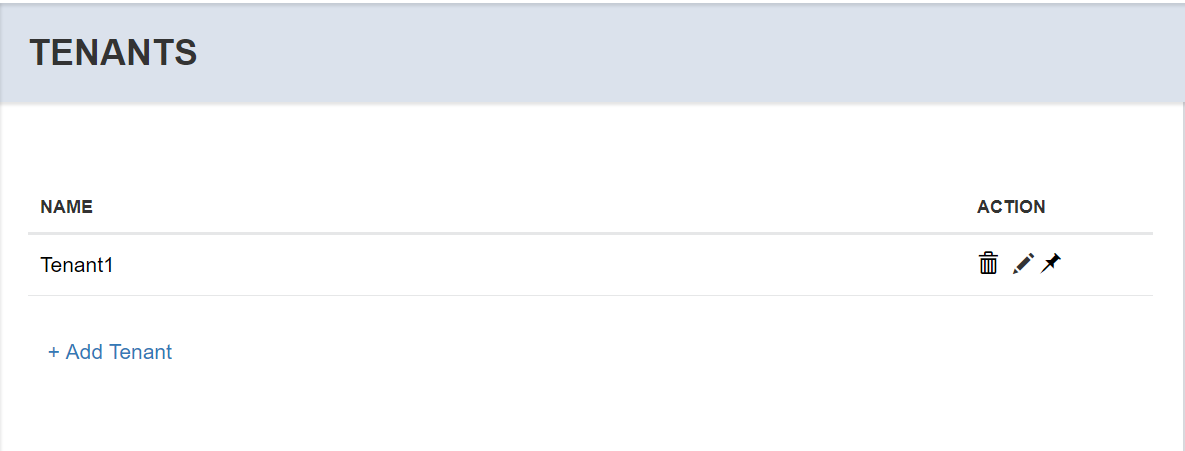
The new Tenant will be shown in the Tenants list.

Rename Tenant
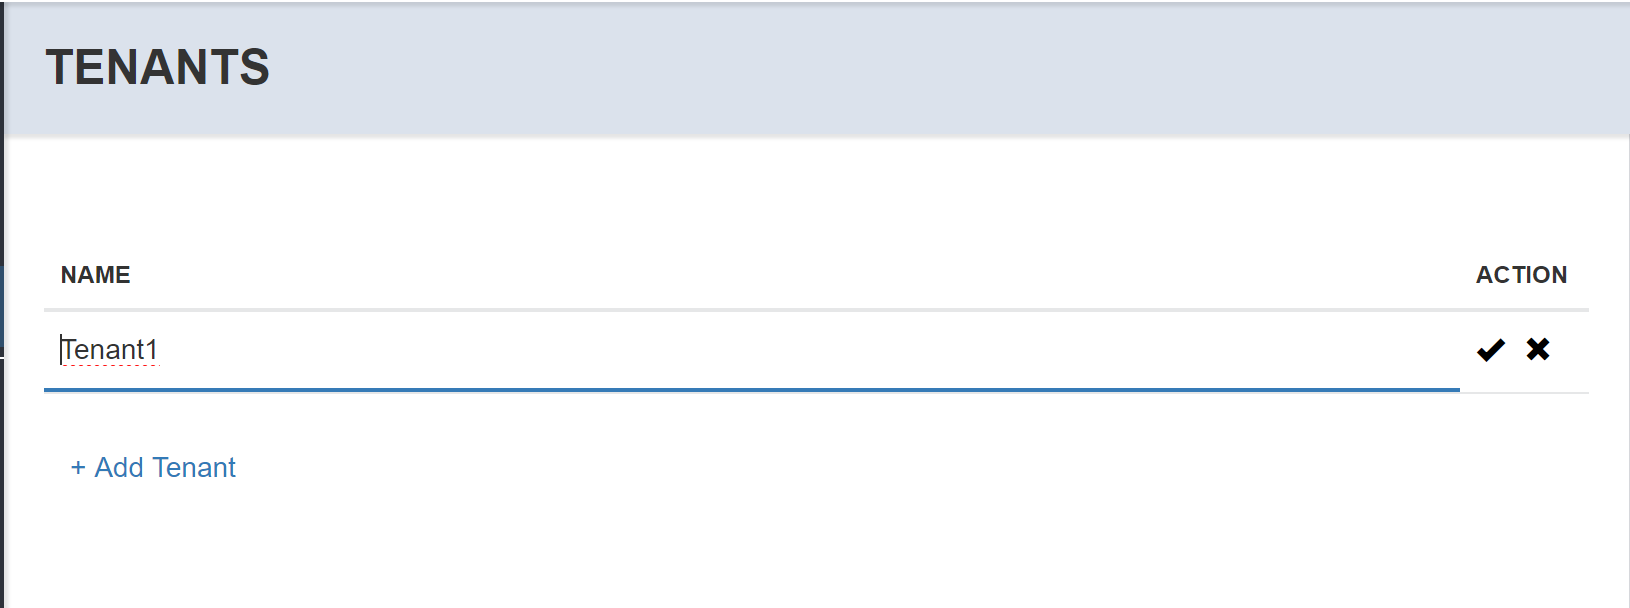
If you want to rename the Tenant you can do so from the list by selecting the Edit icon (the pencil).

After updating the name, press the Enter key or select the check mark icon. If you decide not to rename, select the Cancel (X) icon to cancel editing.
Delete Tenant
If you want to delete a Tenant from the system, select the Delete (garbage can) icon. You will be prompted to confirm before the action is taken.

Warning
This is a non-recoverable action that will remove all policy customizations for the tenant, including Roles, Permission Assignments, and Role Assignments.
Tenant Hierarchy
Using the Management API directly, it is possible to create a Tenant hierarchy. Currently this feature is not available through the Management UI.