Tenant Hierarchy
You can create a Tenant hierarchy from within the UI and select a specific Tenant within that hierarchy as the Current Tenant for policy management.
Creating a Tenant Hiearchy
Navigate to the Tenants listing and create one or more top level Tenants. Click on the name of any Tenant to navigate to a new screen where you can see the child Tenant listing.
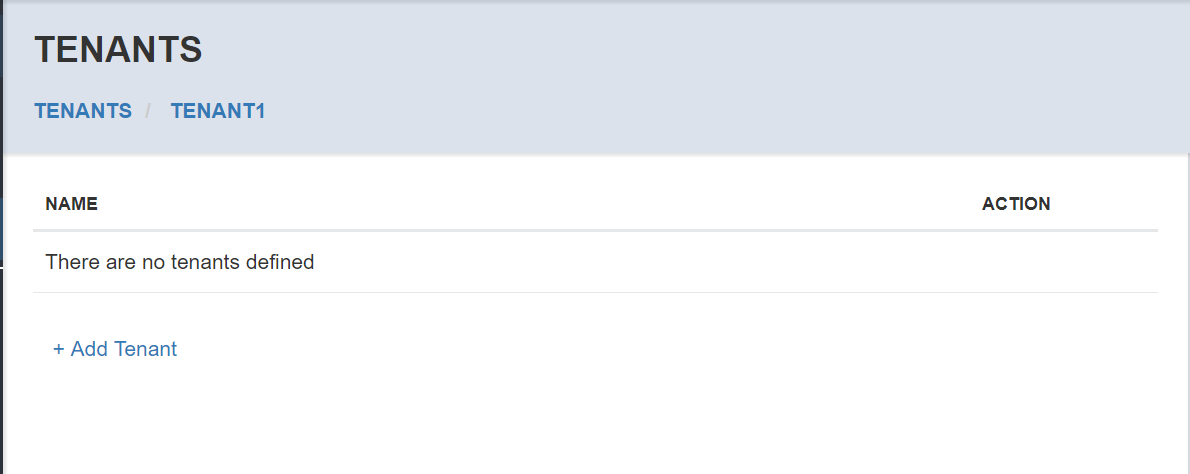
The Tenant breadcrumb will show that you are now viewing the Tenant listing for a parent tenant. Create a new Tenant by selecting the Add Tenant link as described in the section Working With Tenants. After creating a Tenant within the selected parent tenant, you will see it in the listing.
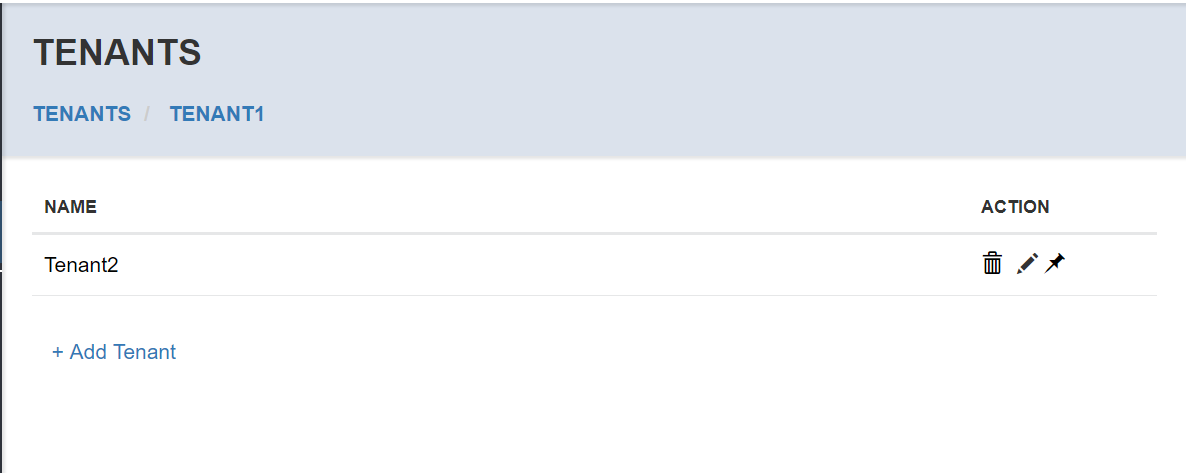
You can continue to select any Tenant and create children for the selected Tenant.
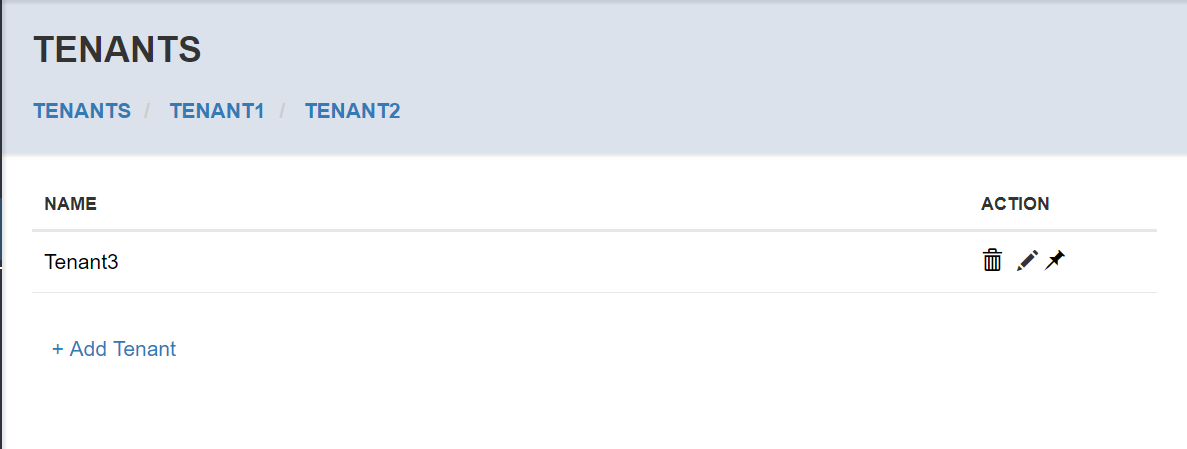
Child Tenant Selection
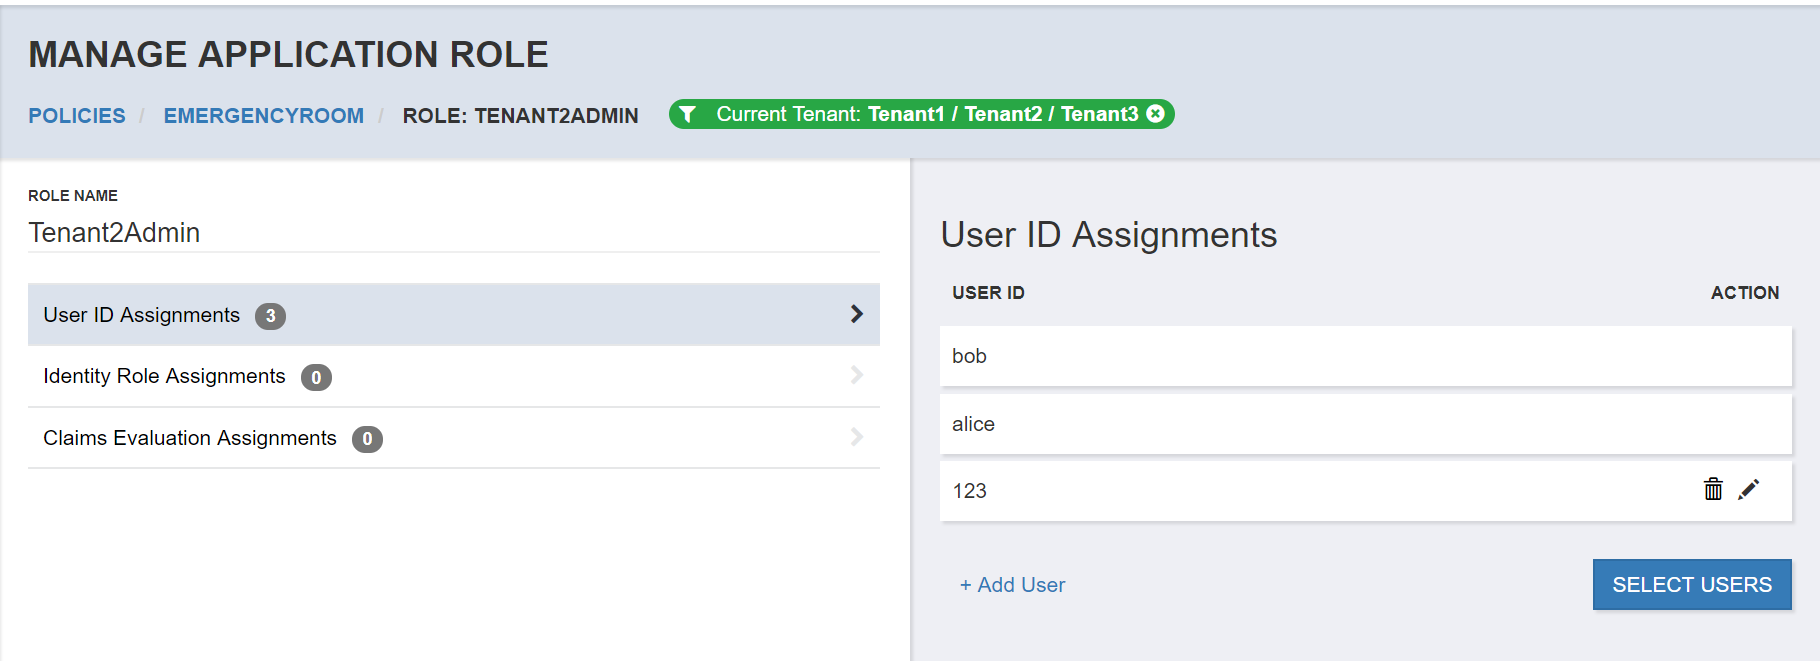
You can select any Tenant in the hierarchy as the Current Tenant. If the Tenant is a child within a hierarchy, this will be represented in the Current Tenant indicator.

Select the pin icon for any Tenant, and then view the Current Tenant filter.
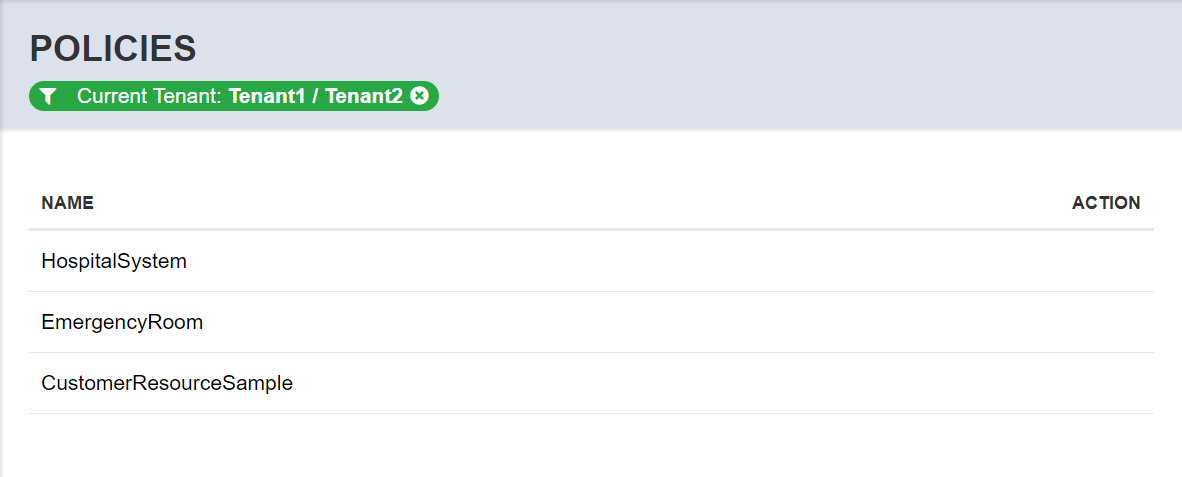
Tenant Hierarchy and Policies
As described in the section Tenants and Policies, within a given Current Tenant selection at any level in the Tenant hierarchy, you can perform the following actions:
Create Application Roles for the Tenant
Create additional Permission Assignments for the Tenant
Create Role Assignments for the Tenant based on User ID, Identity Roles or claims
You can create an Application Role for any Tenant in the hierarchy.
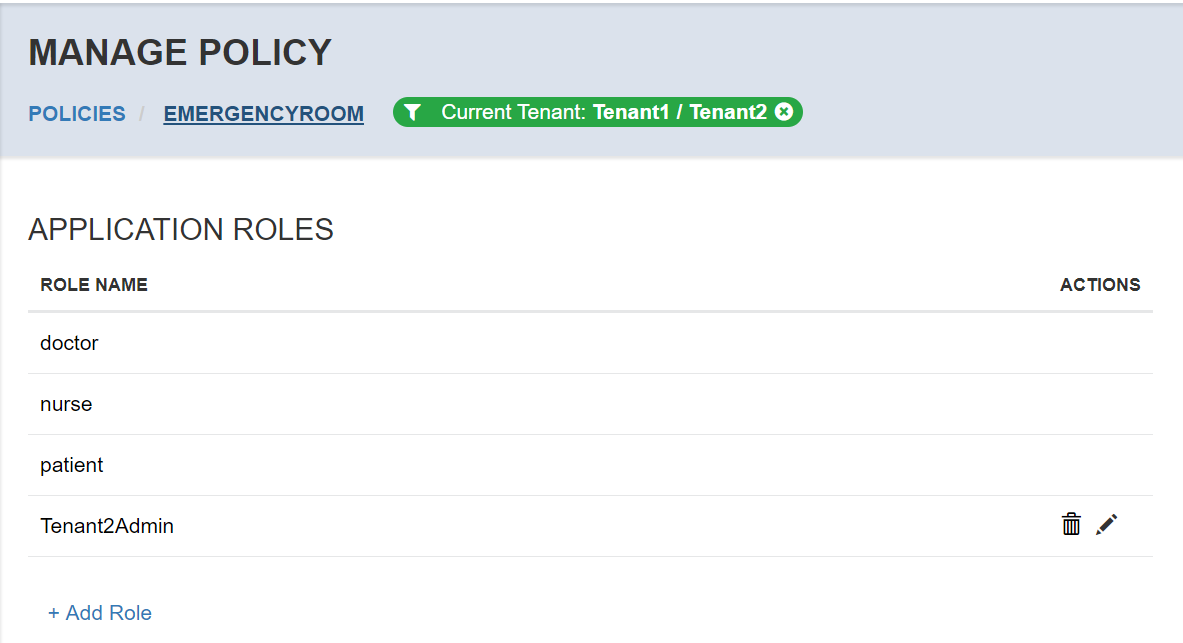
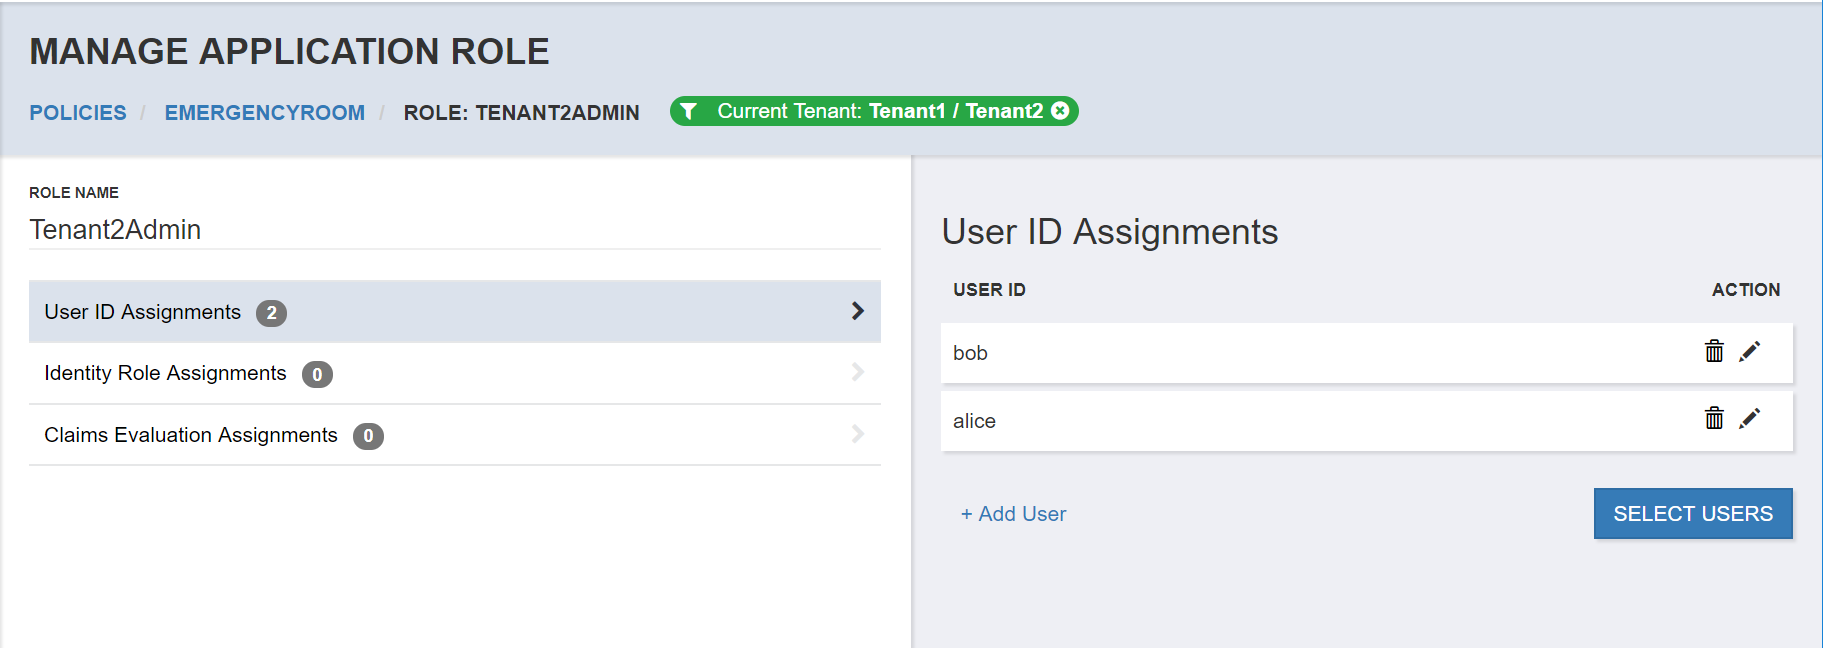
You can also create Role Assignments for any Tenant in the hierarchy, including assignments for this new Application Role.
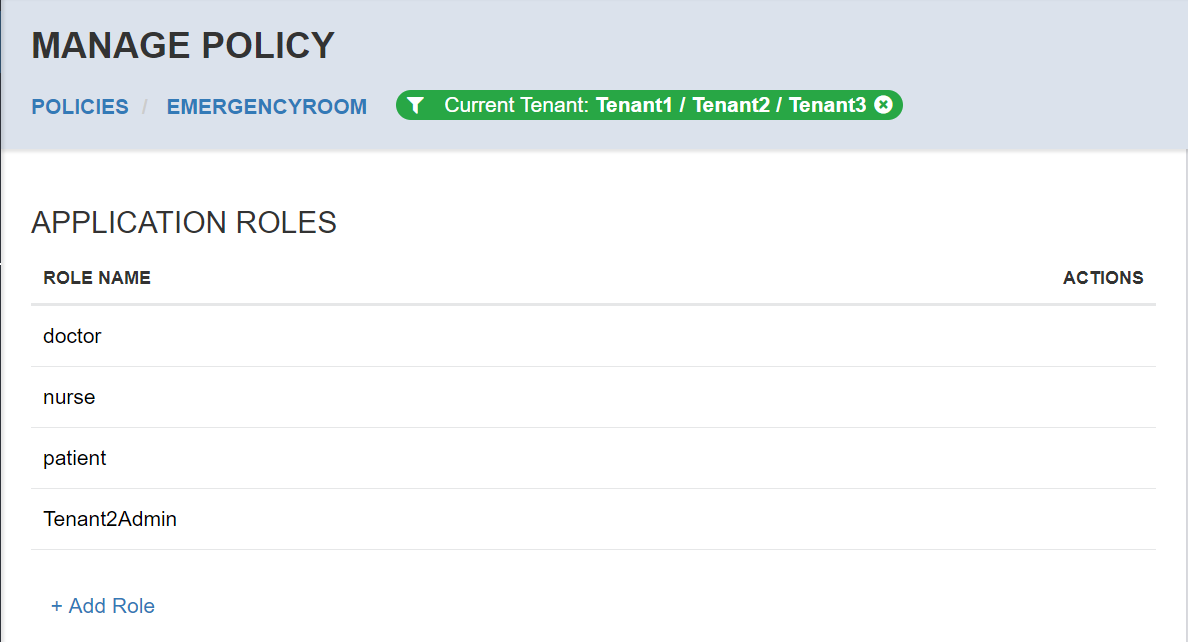
When the selected Current Tenant is a child in the Tenant hierarchy, it inherits custom Application Roles, and assignments by its parents - however they will not be editable.
New Role Assignments can be created alongside inherited Role Assignments.
