Working With Policies
From the Policies menu you can begin creating your first Policy. Each Policy may optionally have one or more Child Policy. This section discusses how to create, rename, or delete policies.
Add Policy
A Policy is represented by a name. The Policy name is used when client applications request evaluation for that Policy and must be unique to that Policy level to disambiguate referencing the Policy by name.
Select Add Policy from the top level Policies listing.

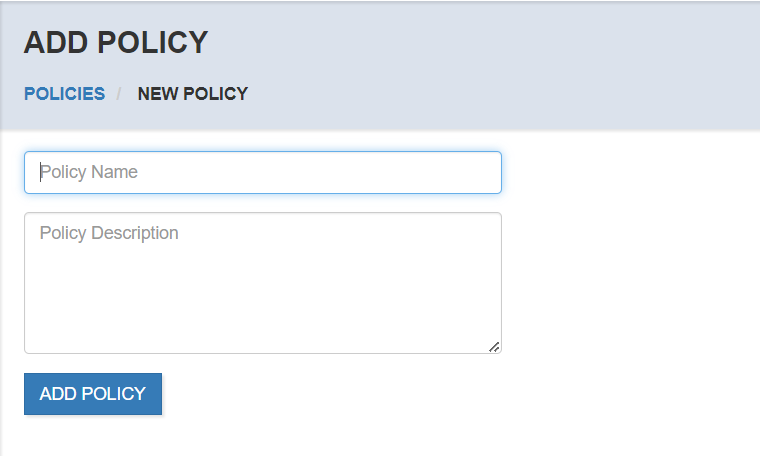
The new policy page will open, enter the name of the Policy and the description.
The new Policy will be shown in the Policies list.
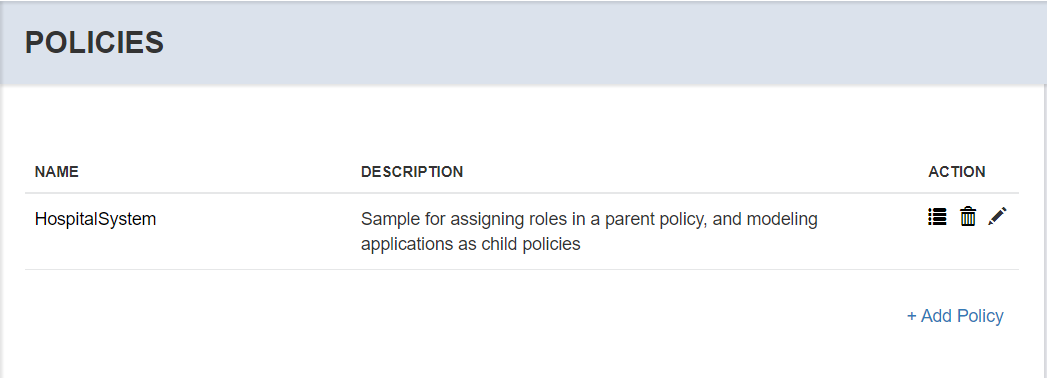
Rename Policy
If you want to rename the Policy you can do so from the list by selecting the Edit icon (the pencil).
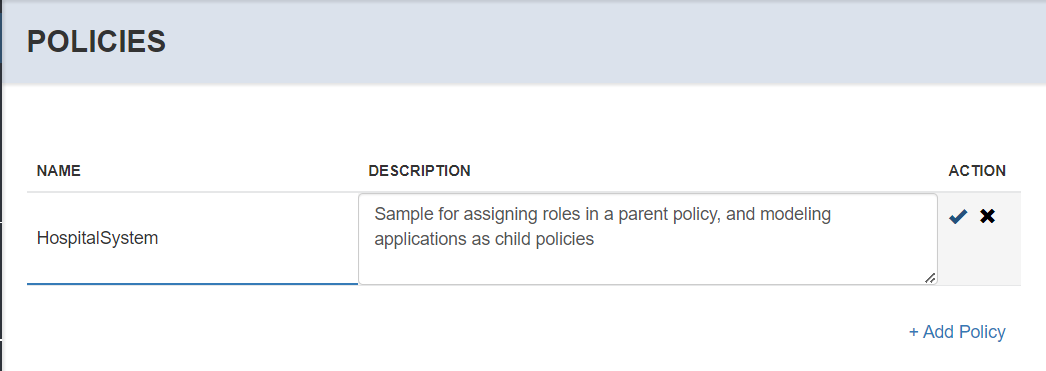
After updating the name, press the Enter key or select the check mark icon. If you decide not to rename, select the Cancel (X) icon to cancel editing.
Delete Policy
If you want to delete a Policy from the system, select the Delete (garbage can) icon. You will be prompted to confirm before the action is taken.

Warning
This is a non-recoverable action that will remove all settings for the policy including any child Policies, Permissions, Roles, user assignments to roles.
Policy Tree
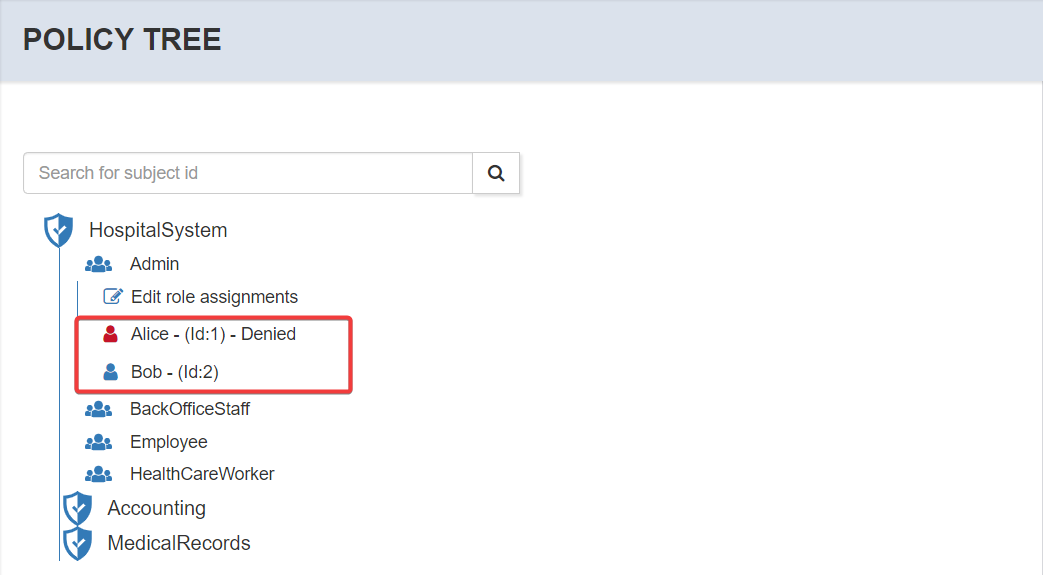
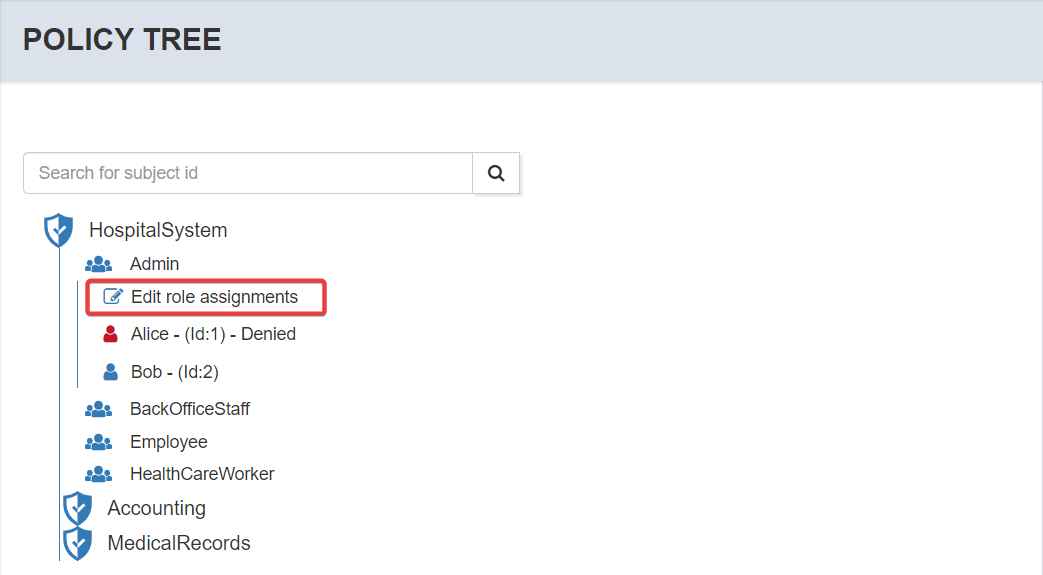
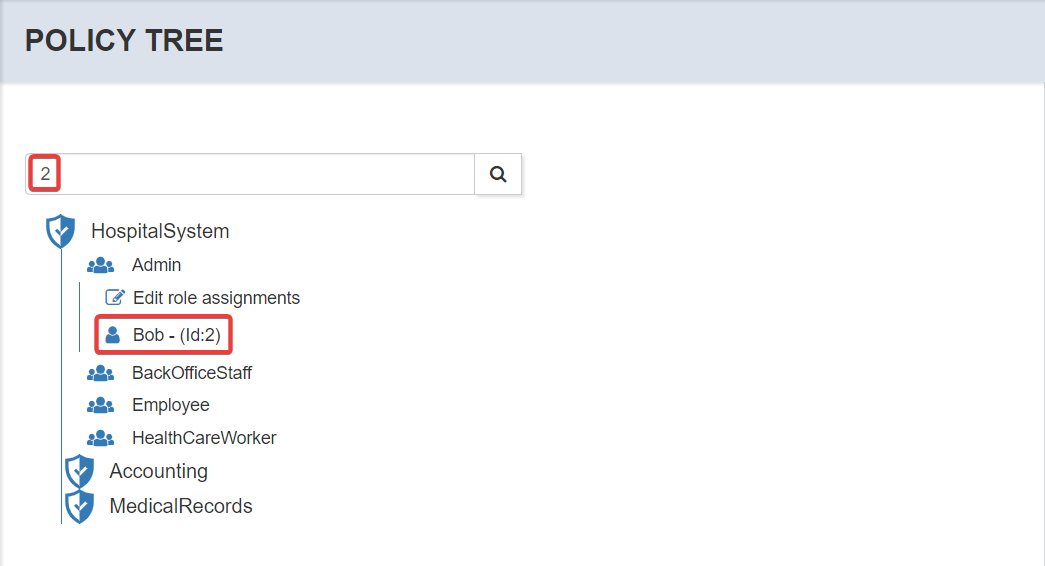
The Policy Tree shows a policy’s roles and role assignments, and child policies, making it possible to view the overall structure in one place.
To view the Policy Tree for a specific policy, select the view Policy Tree icon from the policy listing.

When you click on the Policy Tree icon, you will be redirected to a page showing the first level policy details.
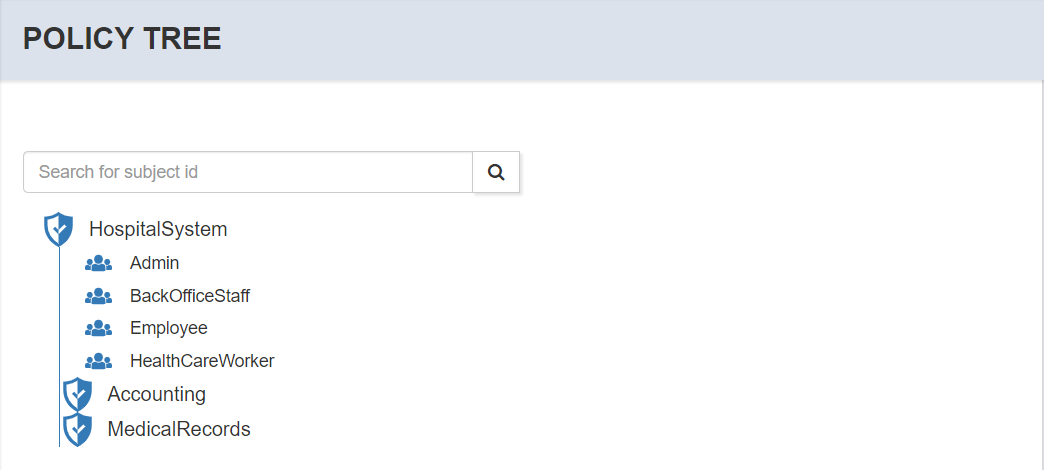
By default the tree will only show policies and child policies, if “Show Role Assignments” is selected, the tree will show the roles and role assignments for the selected policy.
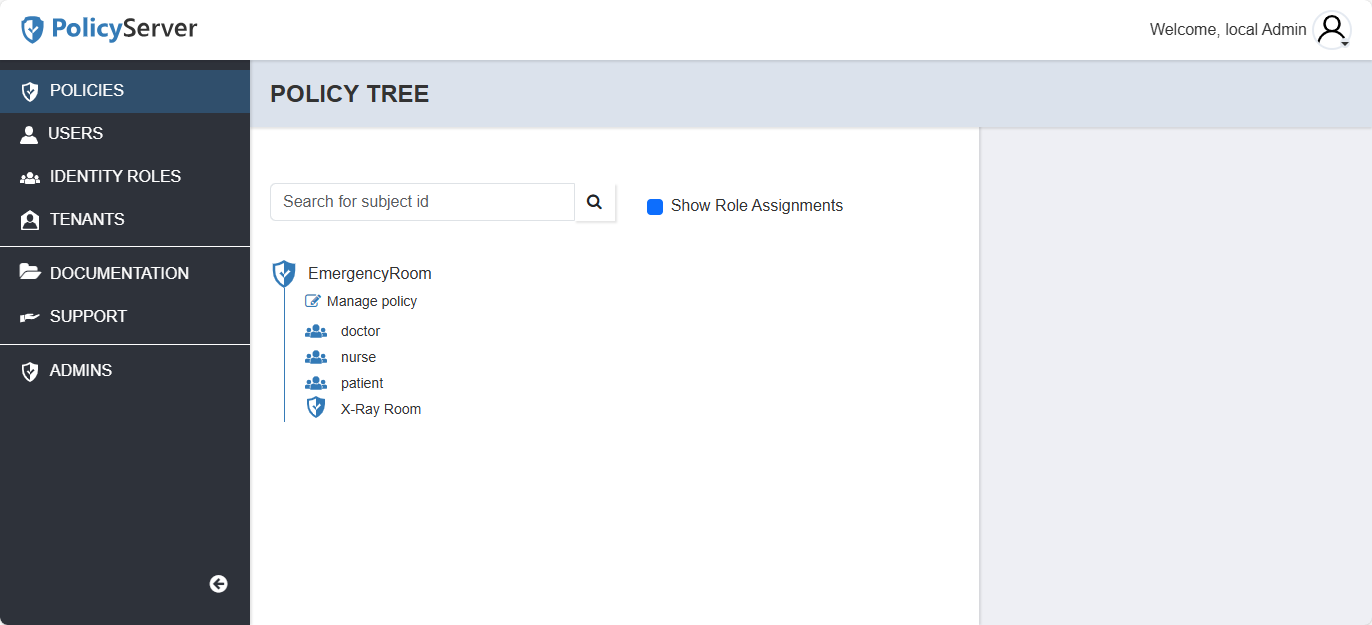
Policy Tree Filter
You can filter the subject or role assignment shown in the Policy Tree by typing the subject or role identifiers in the search box.
Note
These filters are case-sensitive as both subjectId and role name value are case-sensitive when compared with the values in a JSON Web Token.
Add Child Policy
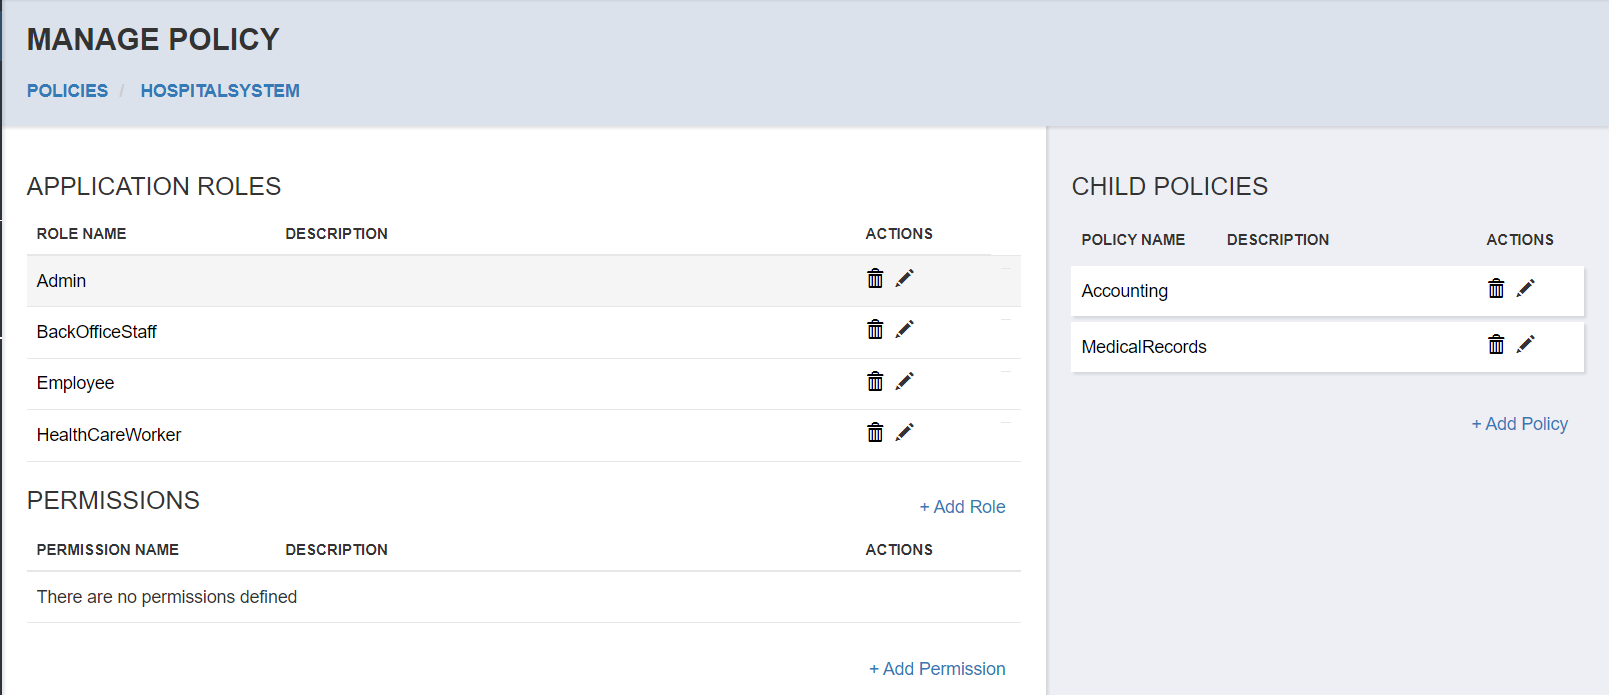
When you create a top level Policy, and select it from the policies listing, you will be able to create one or more Child Policy. From the Manage Policy page under Child Policies you can select the Add Policy link.
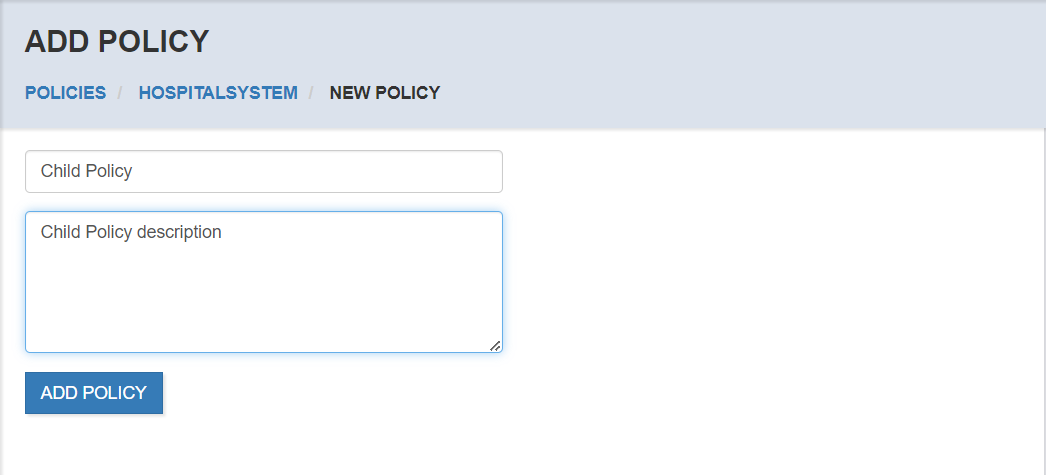
On the Add Policy page you will see the breadcrumb shows the new policy being created in the path of the policy you were managing.
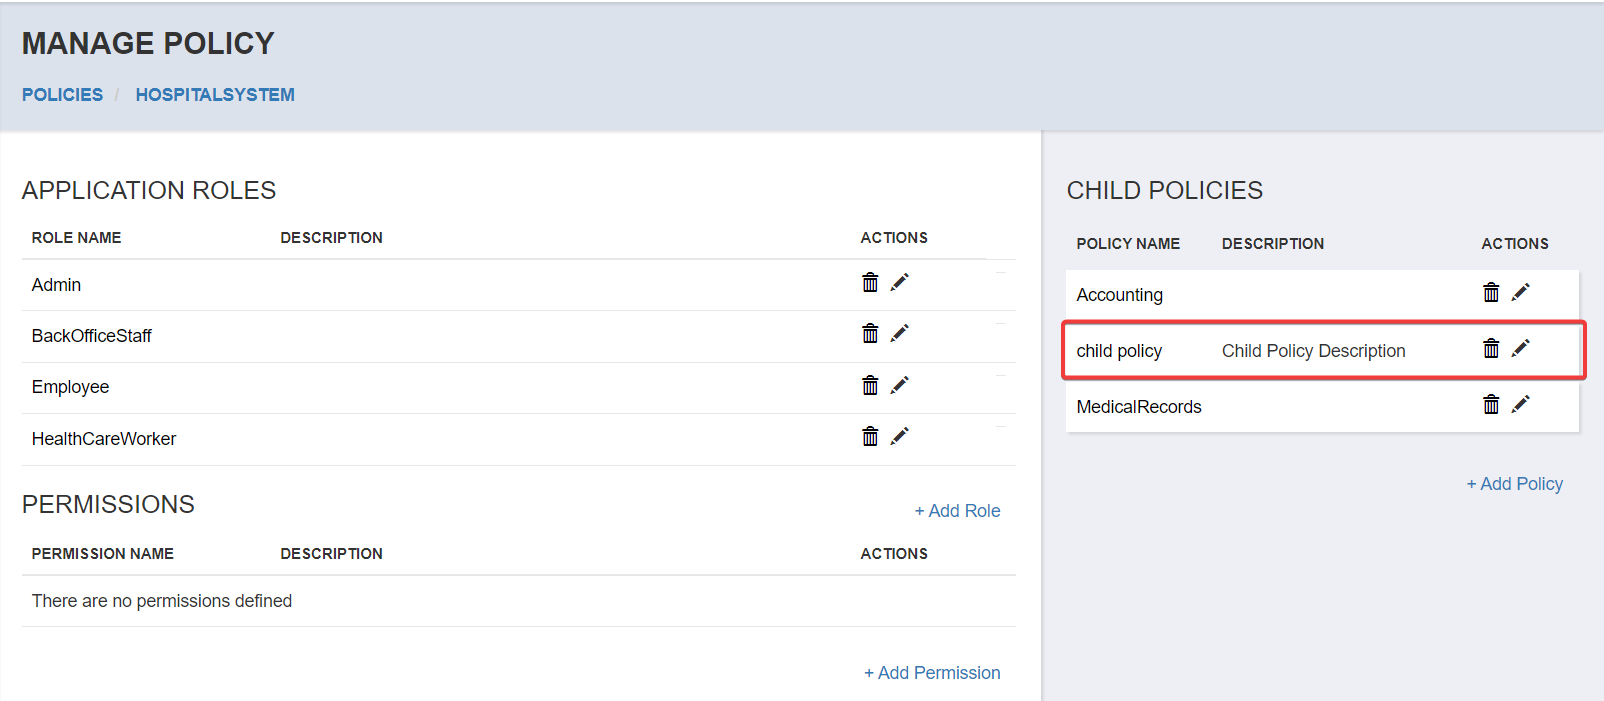
After adding the new Child Policy you will see it in the Child Policies listing.
Rename Child Policy
As with top level policies, you will be able to rename the Child Policy by selecting the edit icon.
Delete Child Policy
As with top level policies, you will be able to delete the Child Policy by selecting the delete icon.
Warning
As with top level policies, deleting a Child Policy is a non-recoverable action that will remove all settings for the Child Policy including any additional child policies, permissions, roles, or user assignments to roles.
Child Policy Hierarchy
You may create one or more Child Policy beneath a given top level or Child Policy by selecting the desired parent policy to manage, and subsequently adding a new Child Policy to that policy level.
Policy hierarchy is also discussed in the PolicyServer Overview. More on Policies and Policy Hierarchy
